
Basic steps to sole replacement with cork:
IMPORTANT: Before you begin, make sure you’ve unboxed the cork from shipping, and laid it out flat to settle and unbend. This can take a few days to over a week, depending on how long the cork was rolled up. Curled cork sheets will make your work considerably more difficult.
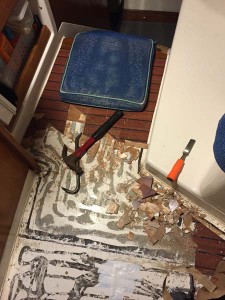 1) Demolish the old floor

Tools for this step: skil saw, hammer, crowbar, chisel, blood, sweat, tears
This can be a brutal step, depending on how your original sole or deck was constructed. Here we find the hapless author sweating it out over every square inch of old floor, sawing, hammering, chiseling, etc. Hard work, but it saves weight and preserves limited headroom in the saloon. Alternatively, one could easily clean up the existing floor and lay SeaCork directly over the top. This is a popular alternative for leaking teak decks as well. If you are applying SeaCork over an existing non-skid, it must be structurally sound, clean, and preferably not too tall/aggressive. Think hard about your border areas when applying over non-skid, and order additional adhesive, as your usage will increase because of the gaps you’re filling.
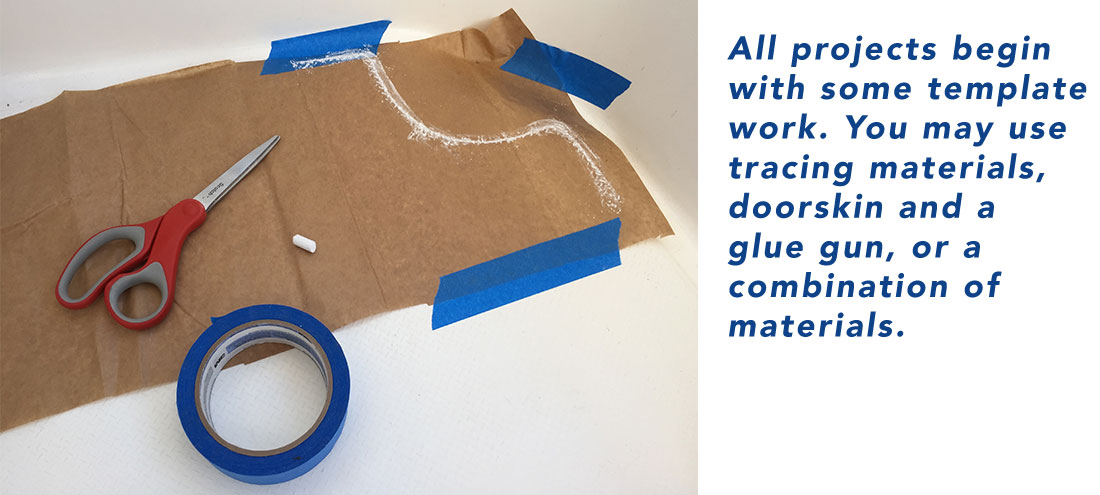
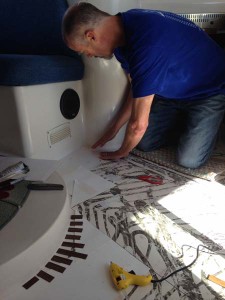 2) Templating

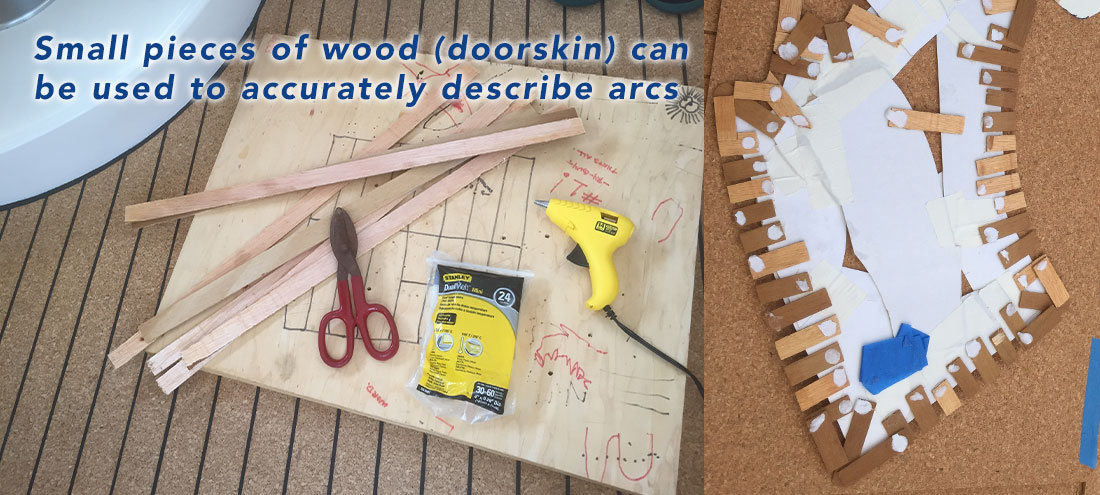
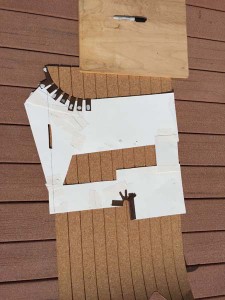
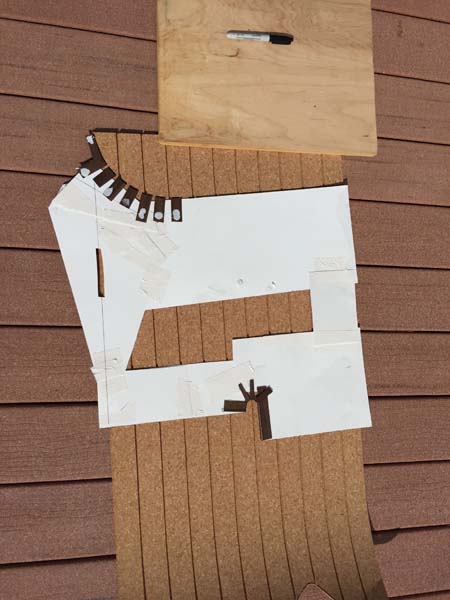
Tools for this step: template sheet material, door skin or other thin wood strips, shears, glue gun, glue sticks, marker
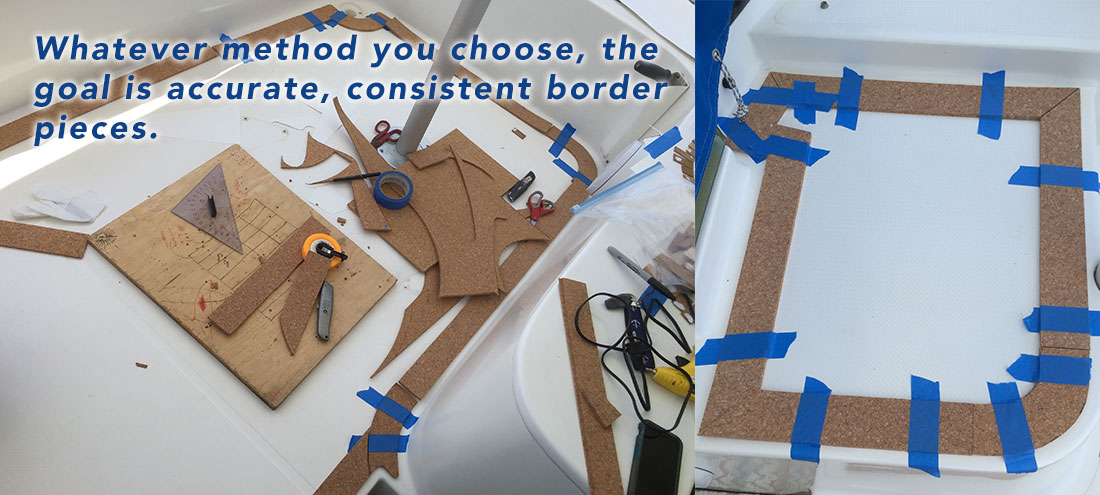
Find firm, but easily cut sheets of material (poster board, composite board, cardboard, door skin), and cut to your rough shape. Using a hot glue gun and small wooden strips of door skin, glue pieces onto the sheets in order to describe arcs, precisely set distances, etc. Mark the centerline of the boat, very carefully, onto your template. If your sheets are secure and well-connected, the finished templates are quite accurate, and you can proceed with confidence.
 3) Cut and prep the cork pieces
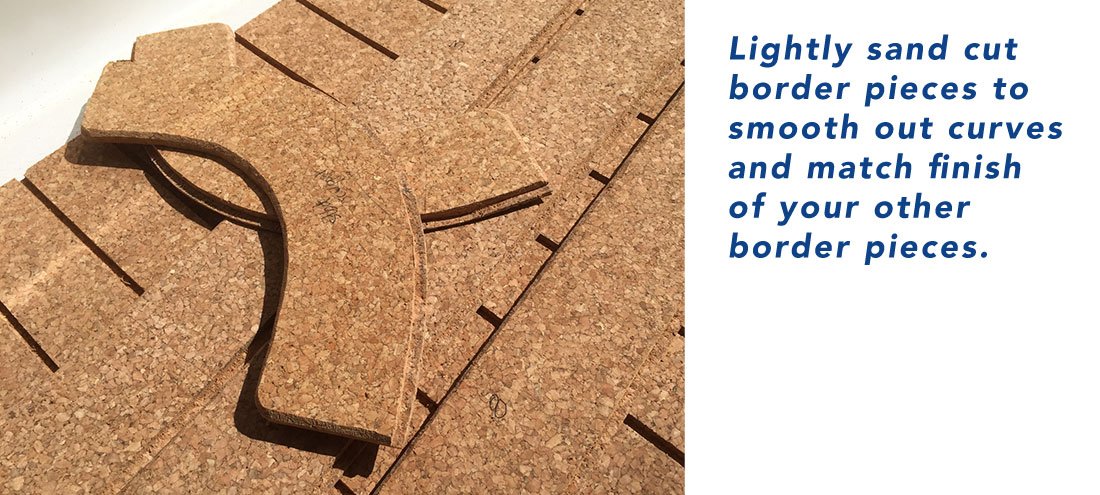
Tools for this step: marker, utility knife, sand paper (60 or 80 grit)
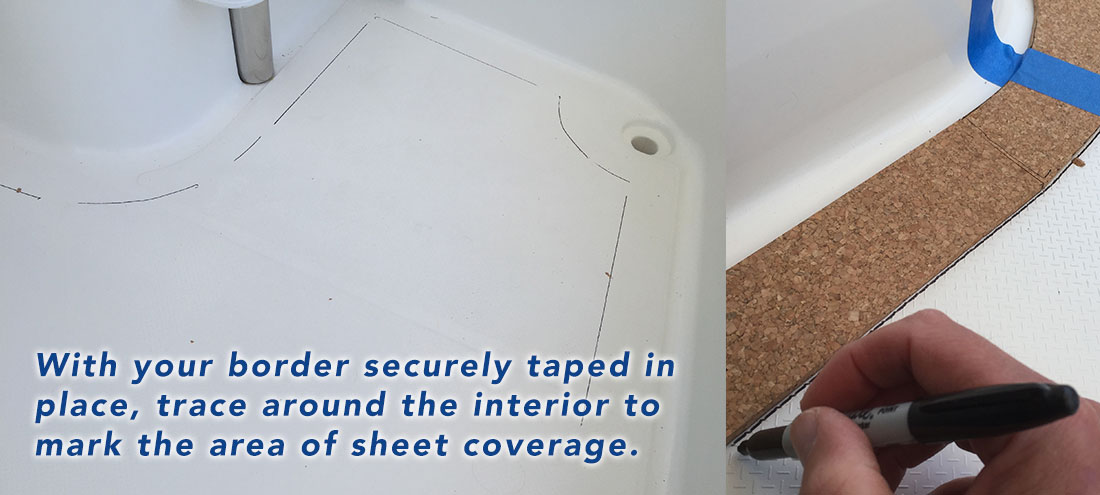
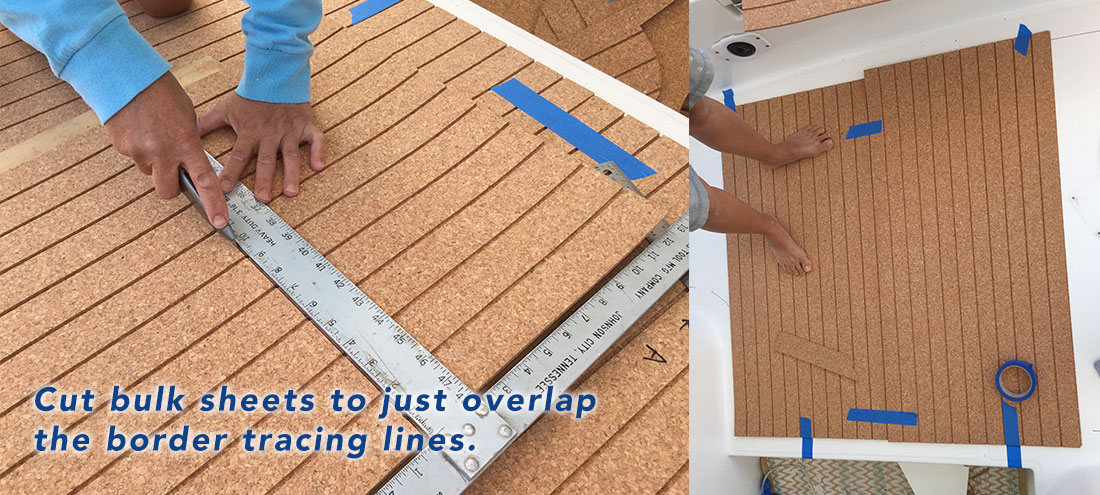
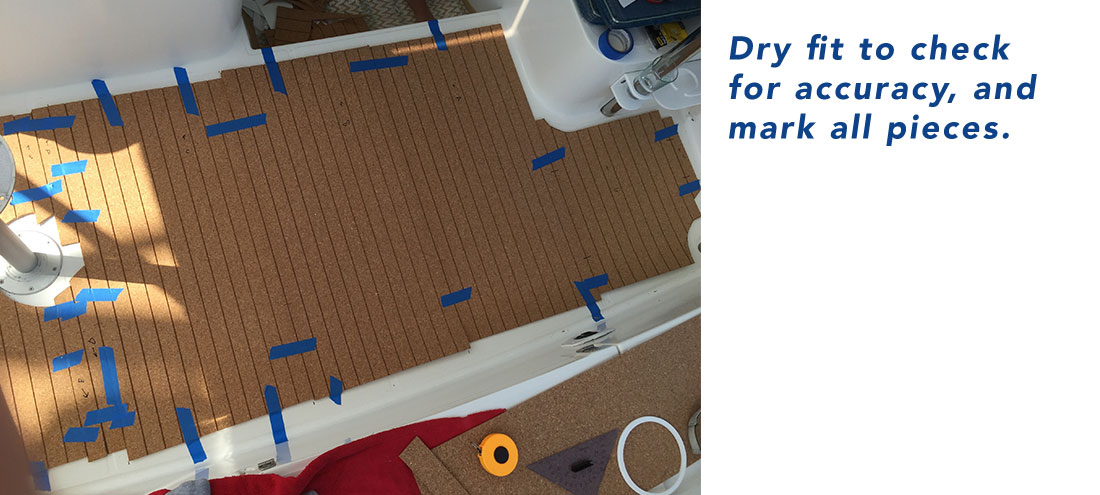
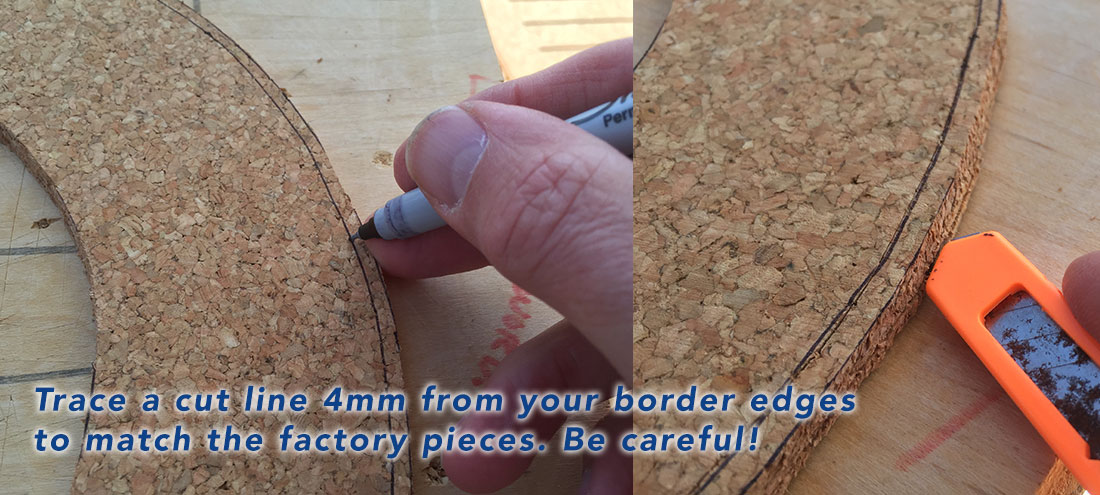
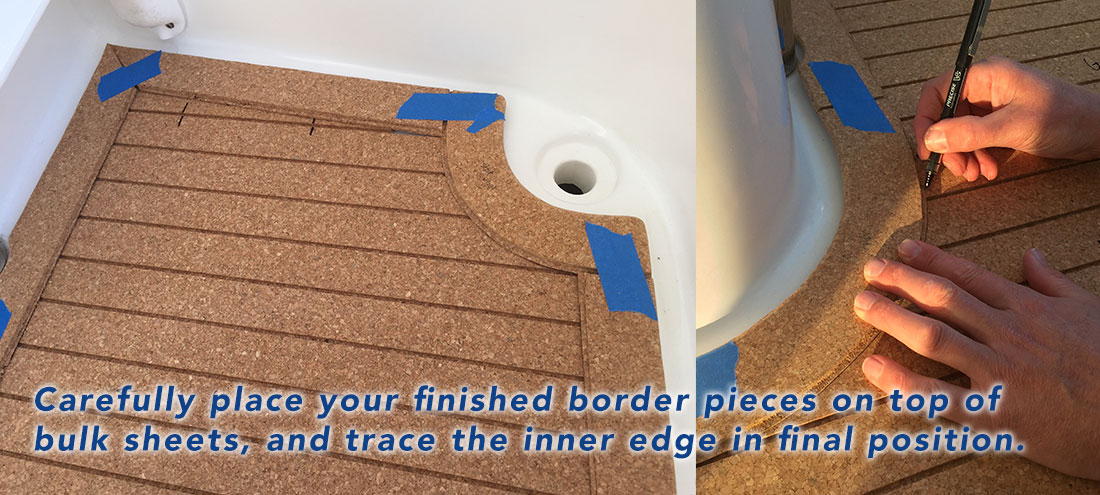
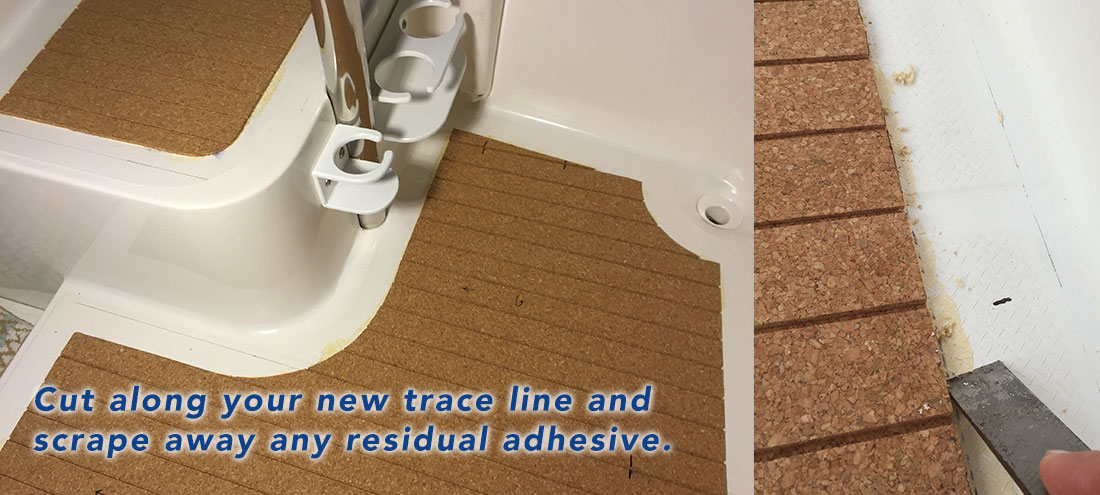
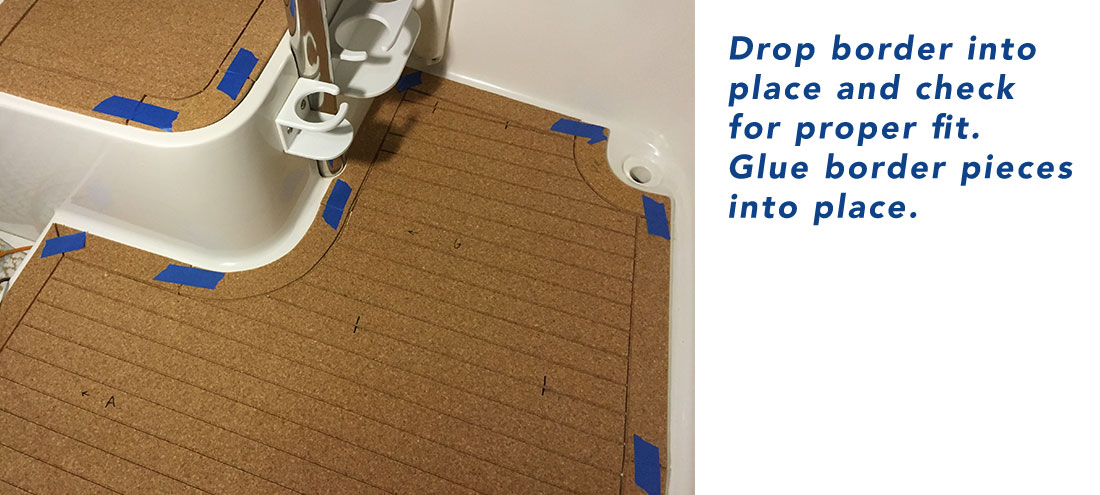
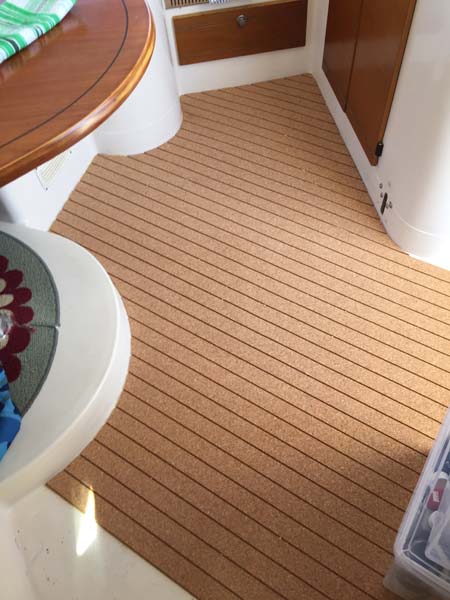
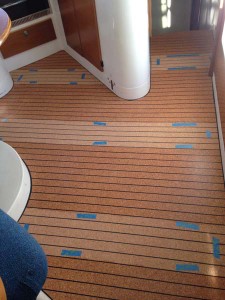
After double-checking the templates, trace your template edges onto your cork sheets to begin the cutting process. Start from the center line of the boat, and work out in either direction. Setting this first centerline seam is critical to the entire project aligning properly with the fore-aft orientation of the boat. Clearly a large indoor floor surface is helpful for this step. A sharp utility knife is all that is needed, but care must be taken to keep the knife in a vertical orientation, particularly on rounded cuts. Dry fit each piece as you cut them (or test against your template), so any issues can be dealt with immediately before proceeding to the next piece. When complete, dry-fit the entire set of pieces on the boat. Tape off any areas where cork will meet another floor surface, leaving a few millimeters past the edge of cork, for the glue.
 4) Prep the surface
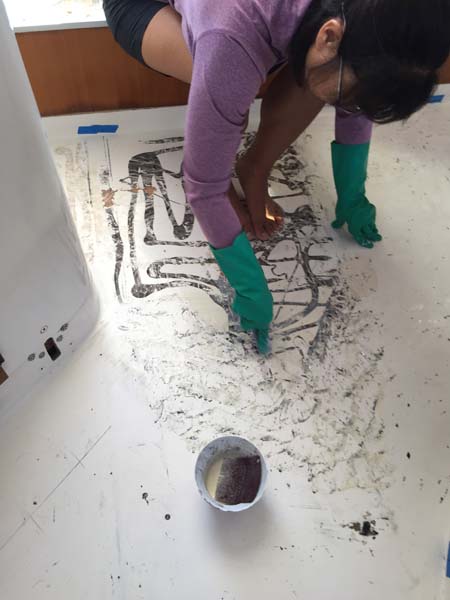
Tools for this step: Vacuum, solvent, rags, gloves, mask/respirator.
The cork will conform to any irregularities in the floor (high spots, ridges), so the time to remedy these is now. Vacuum and wipe the entire surface with solvent, taking care not to erase any of your alignment marks (taping and marking the walls is a good safety measure).
 5) Glue
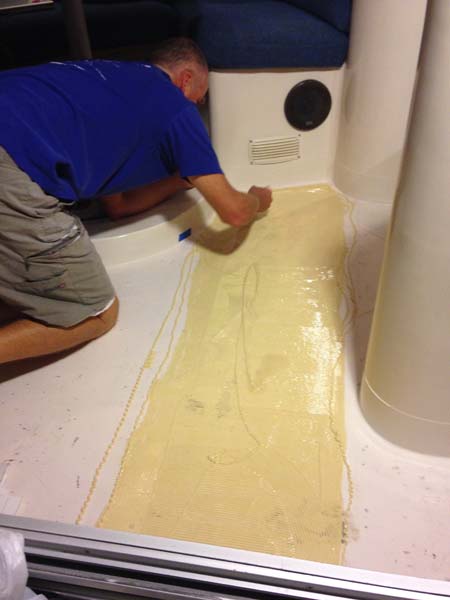
Tools for this step: masking tape, 3mm slotted trowel, gloves, rags/paper towel, solvent.
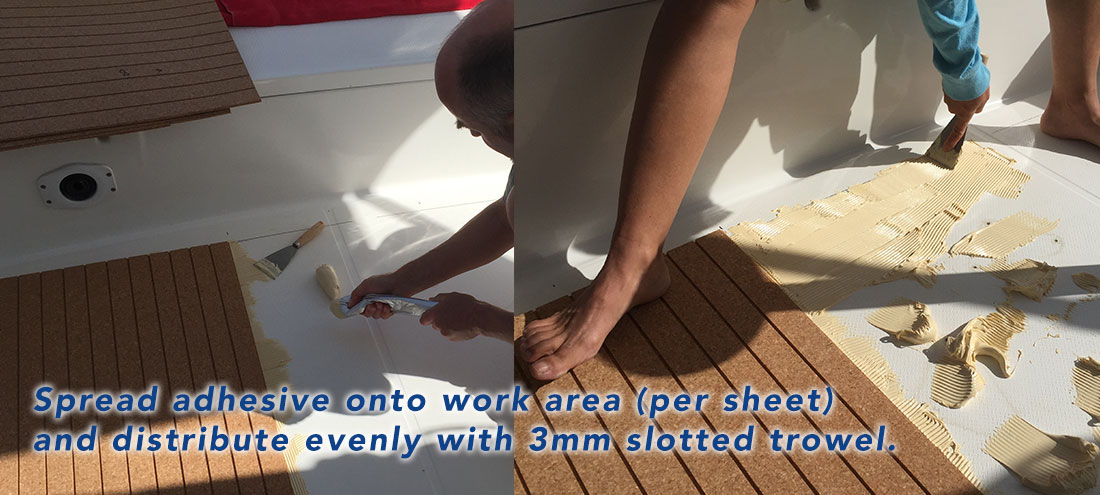
The first piece to lay is your centerline piece, which will guide the placement of all the others. Confirm the location of your centerline, making sure it is marked on the walls fore and aft, as well as the floor (note that the glue will cover your floor marks). Dry fit one more time to check, then proceed with glue. Cork Adhesive will often settle a bit over time, so it’s best to vigorously shake and massage the glue packet, particularly at the ends, to promote mixing. Then cut a pencil-sized hole in one end of the glue packet, squeezing adhesive out onto your work area. The initial squeeze from the packet may contain clear liquid, which is easily mixed into the glue with the trowel. (for larger projects, or those with many small pieces, you may find a sausage-style caulking gun quite useful.) Spread the glue evenly with the trowel, adding more as needed until you have a consistent application covering slightly more than the area of your first cork piece (If using cork planks, an area of up to 10 planks wide).
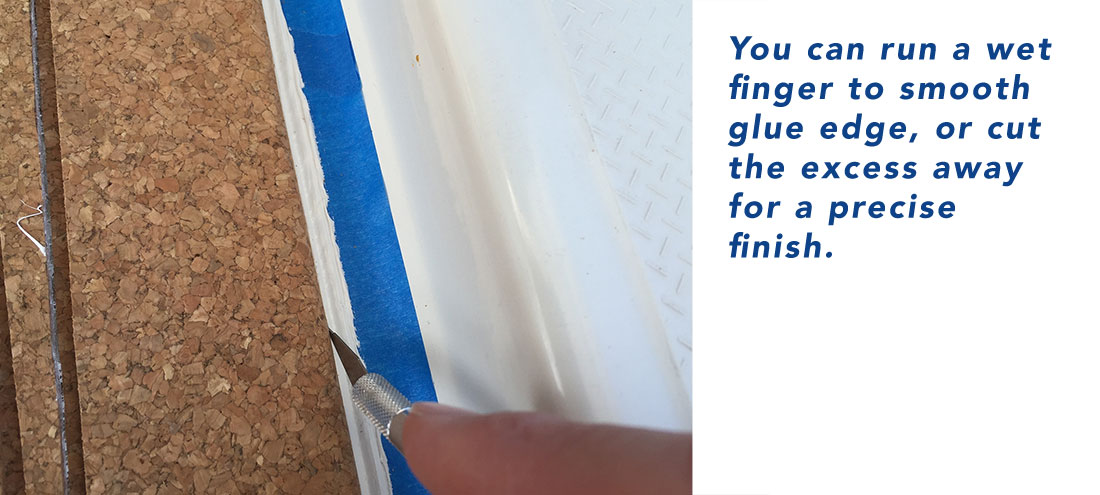
NOTE: Working time for SeaCork adhesive is typically 12-20 minutes, but heat and humidity can shorten this to 10 minutes or so. If temperatures are above 85F / 25C, take this into account. Excess can be cleaned with any solvent while wet, and scraped away when dry. Allow 24 hours for complete cure.
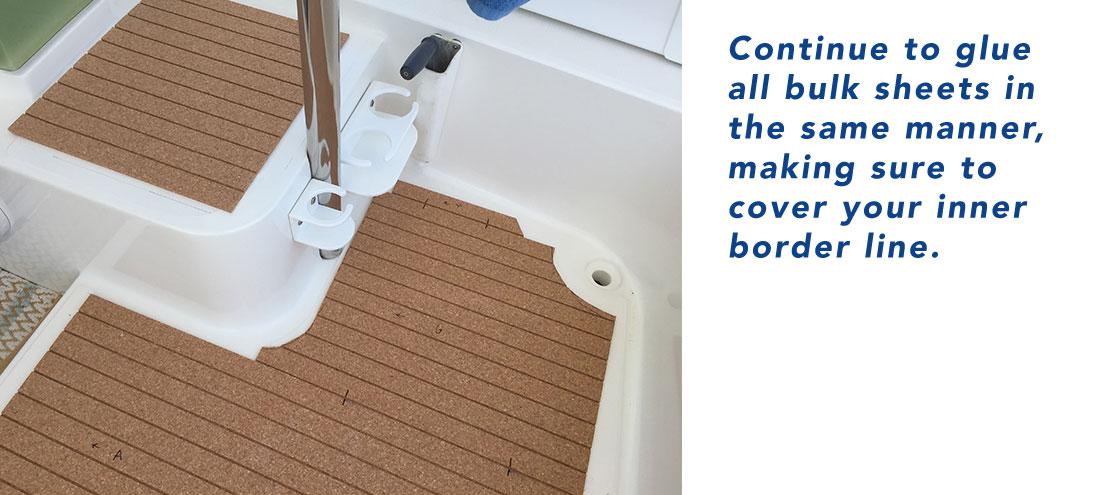
 Bending the cork from end to end, let the center of the piece contact the glue first, and slowly roll each side down, to avoid trapping air under the piece. Once set down, the glue will allow the piece to be moved around slightly to fit precisely in place, and slight pressure can be applied from the center out to remove air. Do not push so hard as to squeeze the glue out from under the piece. Proceed with the next piece in the same manner. Do not apply glue to a large area too much ahead of your work time. Glue will skim over in 20 minutes or so, and be somewhat stable in 45 minutes. 24 hours to total cure.
Seams that fall on caulking grooves are no worry at all. Seems that run cross-wise are another story. To minimize the seam line on the finished product, wet the ends of adjoining pieces with a touch of glue, and press together firmly, adding tape if necessary. Ignore the glue that squeezes out for now.
 6) Caulking

Tools for this step: masking tape, plastic scaper/small squeegee, caulking gun, utility knife, paper towels.
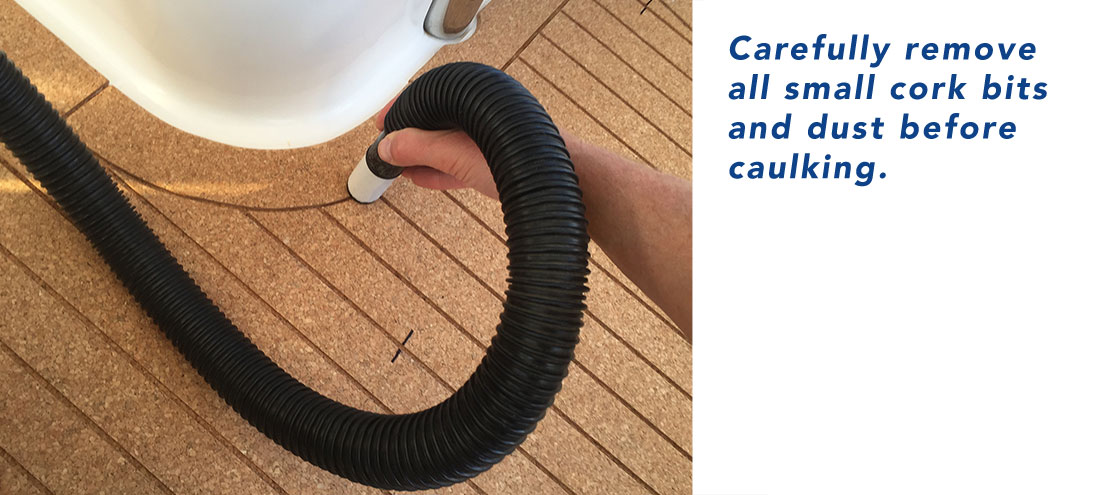
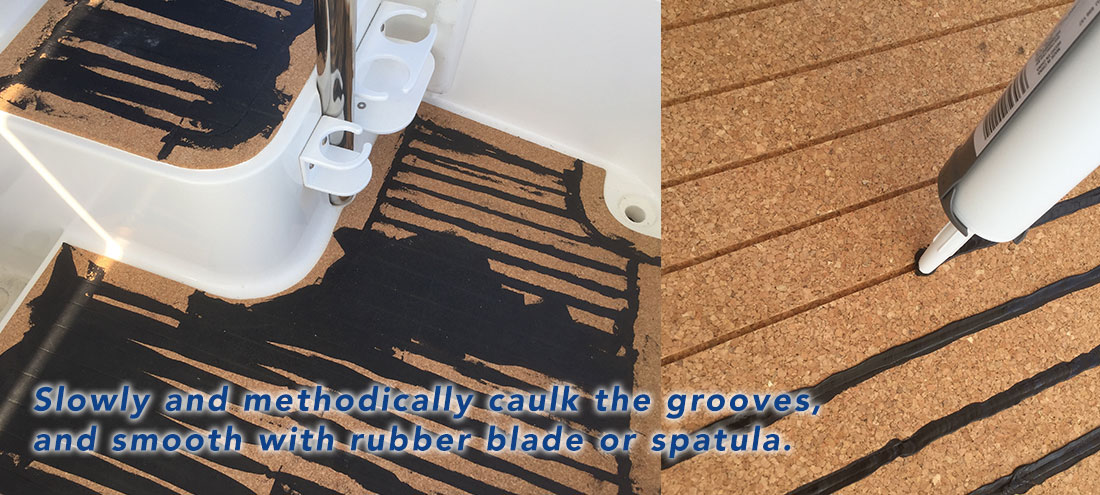
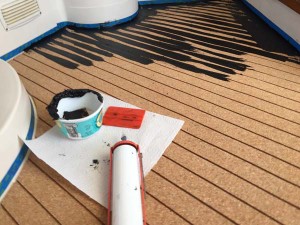
After the glue has fully cured, thoroughly vacuum the work area before beginning with caulking. Tape off the walls around the side, and any edges of steps, etc. Caulk is applied on a small area at a time, about 8 square feet. Keep the tube near vertical, working forward to force the caulk down into the groove. Periodically pause to use a plastic scraper or squeegee to swipe the caulk flat. Do not try to reapply caulk from the squeegee into a groove, as this will inevitably trap air (These voids will become visible as you sand and require re-caulking). Allow caulk to cure 48 hours before beginning sanding.
 7) Sanding

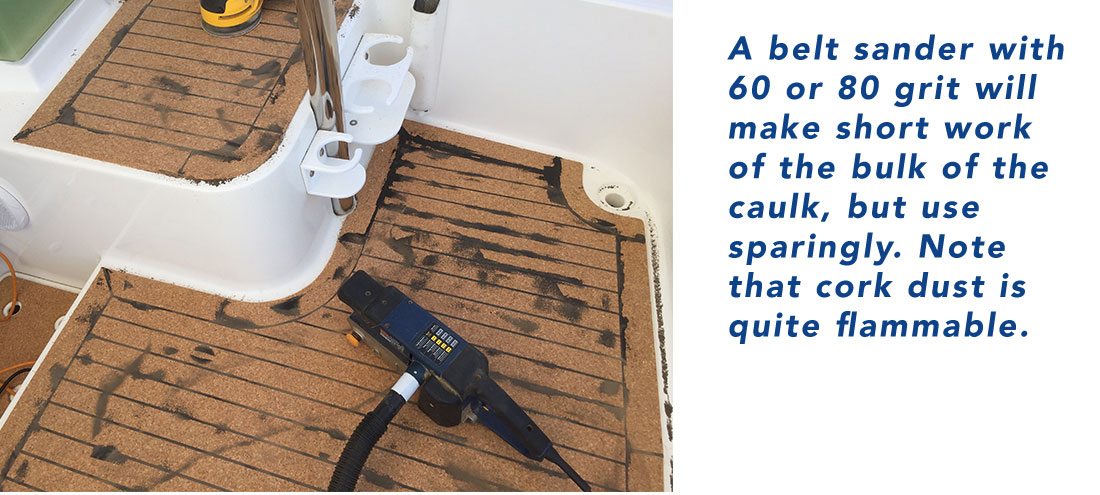
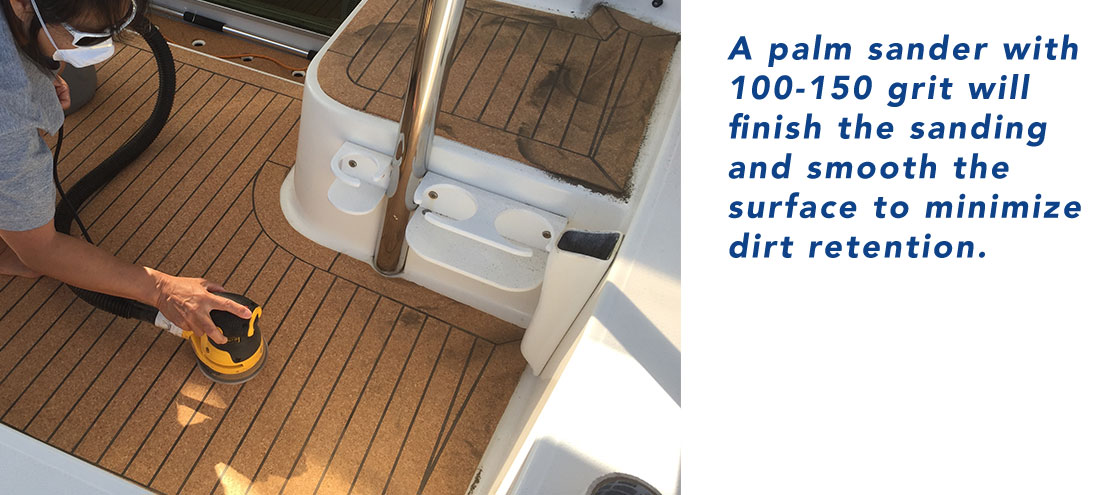
Tools for this step: belt sander, orbital palm sander (both with vacuum connection), mask/respirator, goggles, ear plugs, sand paper (60, 80, 100 grit)
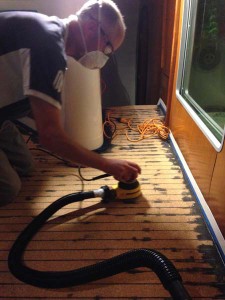
A belt sander with 60 grit sand paper will make short work of the smear of caulk over the cork, but you MUST BE VERY CAREFUL to keep the sander moving, and not to sand any more than you need to with this powerful tool. Switching to the orbital sander will allow much more tolerance of poor technique. Take care working close to walls or furniture, check your wall tape periodically for wear, and reapply as needed. NOTE: while cork itself is fire-resistant, cork DUST is highly flammable. Good vacuum connection is critical, as well as ventilation and no open flames or smoking.
 8) Finish

Tools for this step: CorkCoat clear finish, small container, foam brush, masking tape
After sanding, vacuum, sweep, and then vacuum to cork surface again to remove all dust. A moist towel wipe can work well, too. Pour a small amount of CorkCoat from the bottle. Apply a single coat with a foam brush, working smoothly and quickly from one end to the other. The cork will appear moist, but the product should never pool. Allow to fully dry for 24 hours before contact.
